

How to Create a Template in Word
Do you know how to create a template in Word? If you’re fed up with starting every Word document from scratch, creating a template will save you a considerable amount of time and effort – and guarantee consistency across all your documents.
In this guide, we’ll walk you through the process of creating templates in Word (with tips for both Windows and Mac users).
What Are Microsoft Word Templates?
Before diving into the process, let’s take some time to understand what Microsoft Word templates are and why they’re invaluable.
Templates are predesigned documents with placeholders for text, images, and other elements. If you often create a particular type of document, a template can save you time by providing a foundation you can use again and again. Templates make it much easier to maintain consistency and create professional-looking documents.
Below are just a few examples of documents you can create with Word document templates:
- Resumes and cover letters
- Business plans
- Business invoices
- Annual calendars
- Papers and reports
- Printable letterheads
- Posters and flyers
- Meeting agendas
How to Find Microsoft Word Templates
To begin, let’s explore how to find Word’s premade templates.
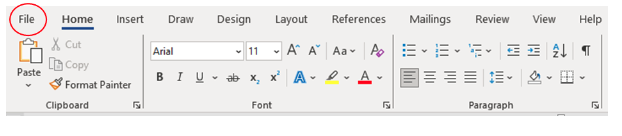
1. Open Microsoft Word and navigate to the File tab.
2. From there, select New to access the template gallery.

3. Browse through the available categories (such as Business, Personal, Education, and Events) and choose the most suitable one for you.
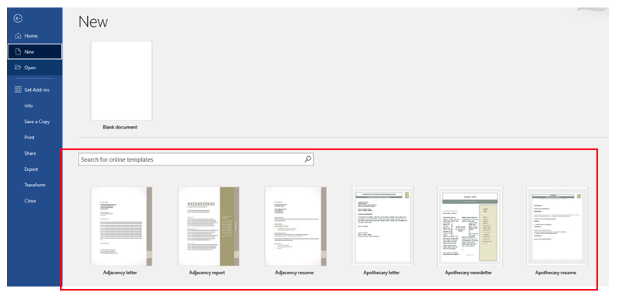
4. Once you’ve found the template you want, click on it to open a new document.
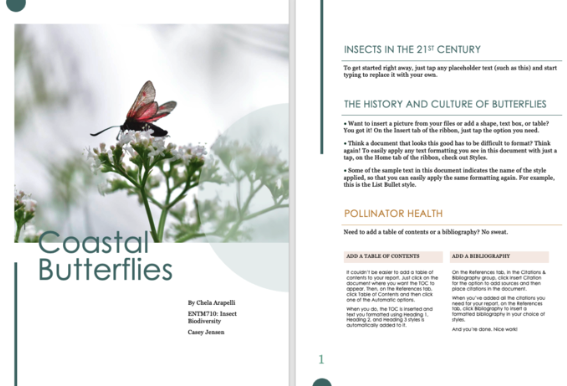
5. You can then customize the content to suit your needs, replacing placeholder text and images with your own. Below is an example of a student report template; note that you can edit each element to personalize the document.
6. Remember to save your edited document for future use.
How to Create a Template in Microsoft Word
If you find yourself repeatedly customizing built-in templates while creating new documents, create your own custom template to save hours of time.
1. Open a blank document and design your document layout, including headers, footers, images, and any recurring elements, such as font sizes and colors.
2. Once you’re satisfied with the design, you can do the following:
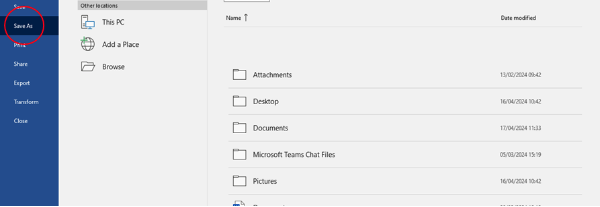
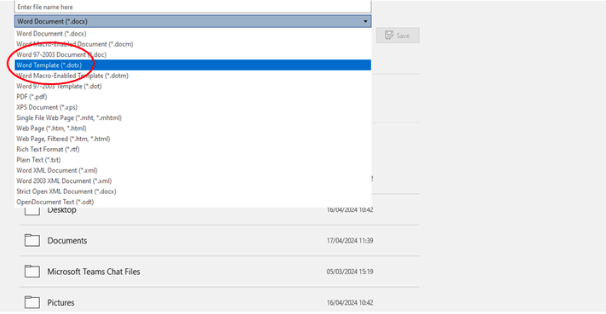
- If you’re a Windows user, go to the File tab and select Save As. Choose the location where you want to save your template, then select Word Template (*.dotx) from the drop-down menu of file formats.
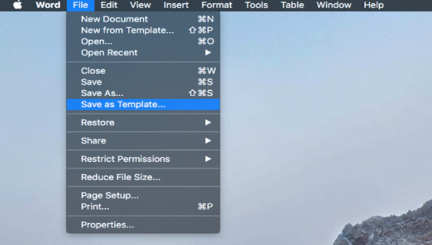
- If you’re a Mac user, go to File and click Save as Template.
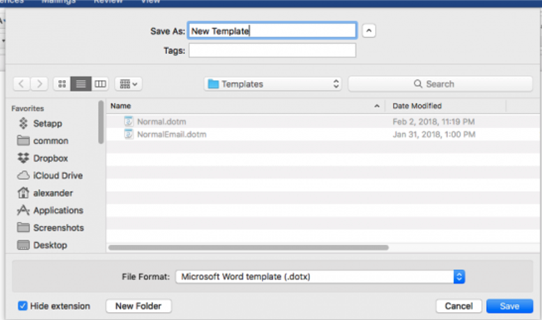
3. Give your template a descriptive name and click Save.
- Windows users can save the template to a new Templates folder.
- Mac users can save it to the Templates folder. Avoid changing the location or file type when saving the template.
4. Your custom template is now ready to use whenever you need it. To create a fresh document based on the template:
- Windows users would choose File and then Open (along with what you named the file) and edit the document using the new information.
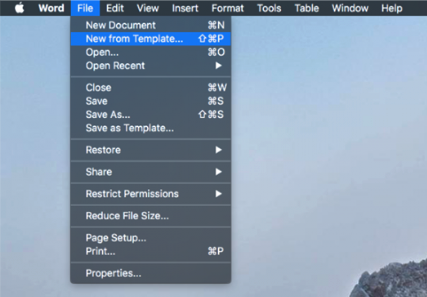
- Mac users would choose File and then New from Template.
To view your saved templates, click on Personal (next to Featured).
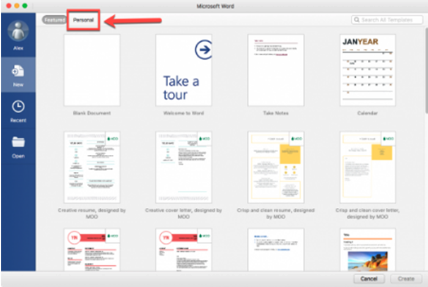
Finally, open a new document containing the same styling and content as the saved template by double-clicking the template’s icon.

When saving afterward, make sure to give the file a new name to avoid confusion!
Formatting in Microsoft Word
If you want to elevate your Word skills further, consider enrolling in our Formatting In Microsoft Word course. Whether you’re a student, professional, or small business owner, mastering formatting techniques can enhance the professionalism and readability of your documents. Plus, it’ll save you time and effort in the long run! Try it out for free today.


Your email address will not be published.